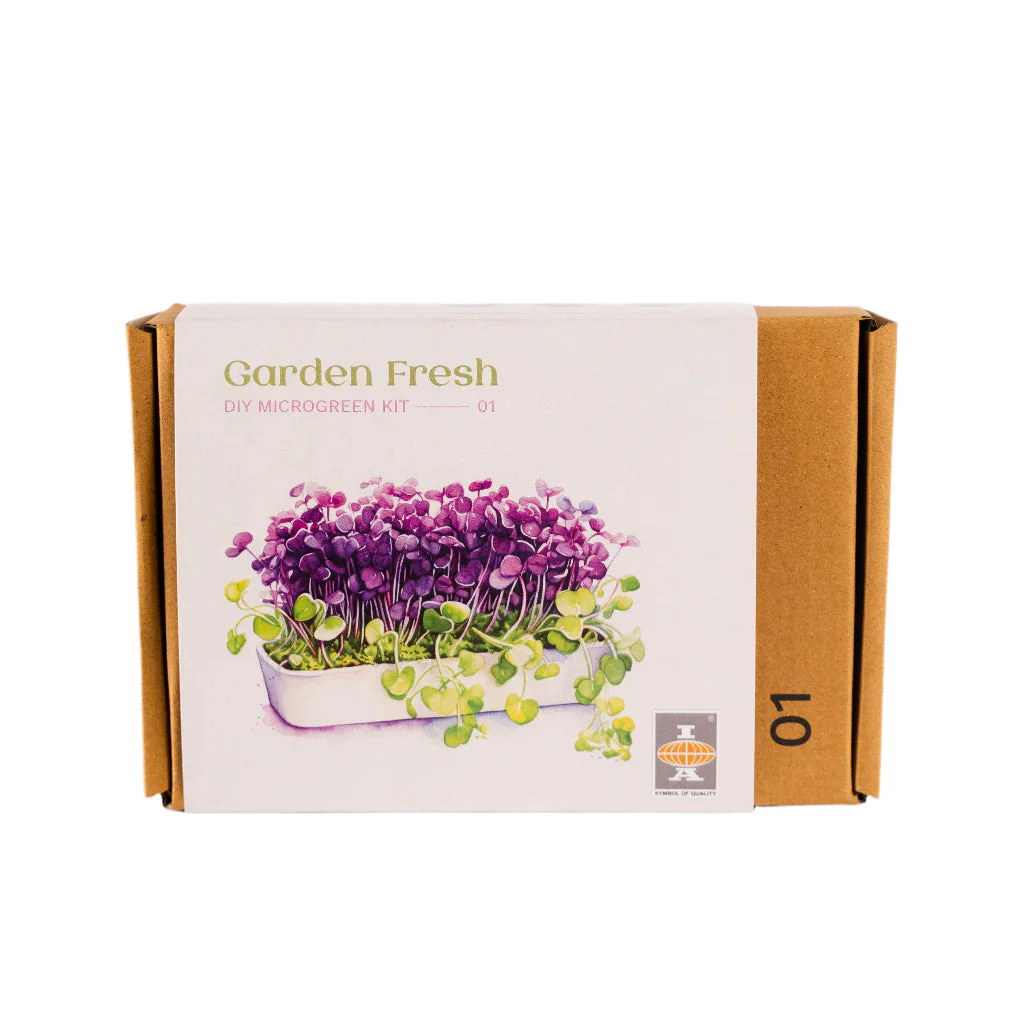
DIY Microgreen Kit-The Power Greens Collection
Power Greens Microgreens Kit – Nutrient-rich DIY set for indoor counters
About Microgreens
Microgreens are young vegetable greens with an intense aromatic flavor and concentrated nutrient content. Measuring only 1-3 inches (2.5-7.5 cm), they fall between sprouts and baby leaf vegetables in size. They come in a variety of colors and textures, and while the nutrient content may vary, most varieties contain higher levels of vitamins, minerals, and antioxidants compared to mature greens. Their taste ranges from neutral to spicy, slightly sour, or even bitter, depending on the variety, but is generally considered strong and concentrated. Microgreens are convenient to grow, suitable for various locations such as outdoors, greenhouses, and windowsills.
Contents
1. Seeds Packets (10 gms seeds per pack)
-
- Kale: A powerhouse of vitamins A, C, and K.
- Broccoli Raab: A mild, slightly bitter green with antioxidants and fibre.
- Radish Purple Sango: Adds a spicy kick to any dish.
2. Cocopeat
-
- High-quality growing medium to ensure your microgreens grow fast and healthy.
3. Felt Grow Bag
-
- Ideal for water retention, aeration, and efficient growth.
4. Step-by-Step Guide
-
- Easy-to-follow instructions to grow your own greens from seed to harvest.
Uses and Benefits
-
- Kale: Add to salads, smoothies, or as a garnish for dishes like grain bowls and soups.
- Broccoli Raab: Perfect for stir-fries, sandwiches, or as a garnish to savoury dishes.
- Radish Purple Sango: Add a spicy crunch to salads, sandwiches, or tacos.
Growing Guide
-
-
Step 1: Set Up Your Growing Space
Choose a bright, but not direct sunlight, spot for your microgreens. Ideally, your windowsill is perfect. -
Step 2: Hydrate the Cocopeat
Place the cocopeat block in a container, add water gradually, and fluff it to create the perfect base for your microgreens. -
Step 3: Plant the Seeds
Scatter the seeds evenly over the surface of the cocopeat and press them down gently, but do not bury them. -
Step 4: Water and Care
Mist your microgreens with the spray bottle to keep them moist. Make sure they are kept in a warm, well-lit spot. -
Step 5: Harvesting
In 7-14 days (depending on the variety), your microgreens will be ready to harvest. Simply use a pair of scissors to cut above the soil level.
-
Step 1: Set Up Your Growing Space
Enjoy your fresh, nutrient-rich greens!
Shelf Life
-
- 9 Months
Original: $6.48
-70%$6.48
$1.94Product Information
Product Information
Shipping & Returns
Shipping & Returns
Description
Power Greens Microgreens Kit – Nutrient-rich DIY set for indoor counters
About Microgreens
Microgreens are young vegetable greens with an intense aromatic flavor and concentrated nutrient content. Measuring only 1-3 inches (2.5-7.5 cm), they fall between sprouts and baby leaf vegetables in size. They come in a variety of colors and textures, and while the nutrient content may vary, most varieties contain higher levels of vitamins, minerals, and antioxidants compared to mature greens. Their taste ranges from neutral to spicy, slightly sour, or even bitter, depending on the variety, but is generally considered strong and concentrated. Microgreens are convenient to grow, suitable for various locations such as outdoors, greenhouses, and windowsills.
Contents
1. Seeds Packets (10 gms seeds per pack)
-
- Kale: A powerhouse of vitamins A, C, and K.
- Broccoli Raab: A mild, slightly bitter green with antioxidants and fibre.
- Radish Purple Sango: Adds a spicy kick to any dish.
2. Cocopeat
-
- High-quality growing medium to ensure your microgreens grow fast and healthy.
3. Felt Grow Bag
-
- Ideal for water retention, aeration, and efficient growth.
4. Step-by-Step Guide
-
- Easy-to-follow instructions to grow your own greens from seed to harvest.
Uses and Benefits
-
- Kale: Add to salads, smoothies, or as a garnish for dishes like grain bowls and soups.
- Broccoli Raab: Perfect for stir-fries, sandwiches, or as a garnish to savoury dishes.
- Radish Purple Sango: Add a spicy crunch to salads, sandwiches, or tacos.
Growing Guide
-
-
Step 1: Set Up Your Growing Space
Choose a bright, but not direct sunlight, spot for your microgreens. Ideally, your windowsill is perfect. -
Step 2: Hydrate the Cocopeat
Place the cocopeat block in a container, add water gradually, and fluff it to create the perfect base for your microgreens. -
Step 3: Plant the Seeds
Scatter the seeds evenly over the surface of the cocopeat and press them down gently, but do not bury them. -
Step 4: Water and Care
Mist your microgreens with the spray bottle to keep them moist. Make sure they are kept in a warm, well-lit spot. -
Step 5: Harvesting
In 7-14 days (depending on the variety), your microgreens will be ready to harvest. Simply use a pair of scissors to cut above the soil level.
-
Step 1: Set Up Your Growing Space
Enjoy your fresh, nutrient-rich greens!
Shelf Life
-
- 9 Months